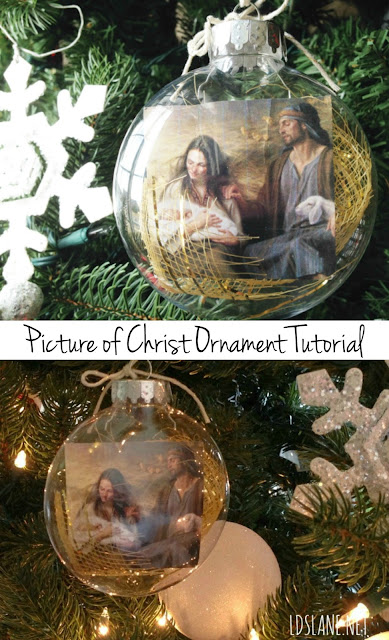
Christmas Ornament Tutorial
You only need a few items...
SUPPLIES
- clear plastic ornament
- gold ribbon or raffia
- Savior image printed out on white cardstock (click here at lds.org)
- pencil or thin stick
DIRECTIONS
- Print out the image of the Savior. I just right-clicked, saved image to my computer and printed a small size (about an inch shorter than width of ornament).
- Place about 5-6 inches of ribbon or raffia and place inside of the plastic ornament (you can buy these at your local craft store for about $1 in many different sizes.
- Roll the picture up and place inside the ornament.
- Open it and place it where you'd like it using a pencil or small stick.
- Tie a ribbon for hanging ornament and you're finished!
Makes a sweet little gift to remind others of our Savior's birth this holiday season.
POST BY: Kari Sweeten


Hi! Can you tell me the diameter of these ornaments? And how to you print a small size of the photo? Do you mean wallet size? Just want to make sure I plan this right. Thanks!
ReplyDeleteYes! Try wallet size or close to it depending on your printer.
DeleteAnd where can you get that kind of ribbon? I have been looking all over. Thank you!
ReplyDeleteI actually dont remember where I got that ribbon. You could use any ribbon, jute or twine from the craft store and it would look great!
DeleteWe are having a hard time with the picture staying curled. Any suggestions?
ReplyDelete